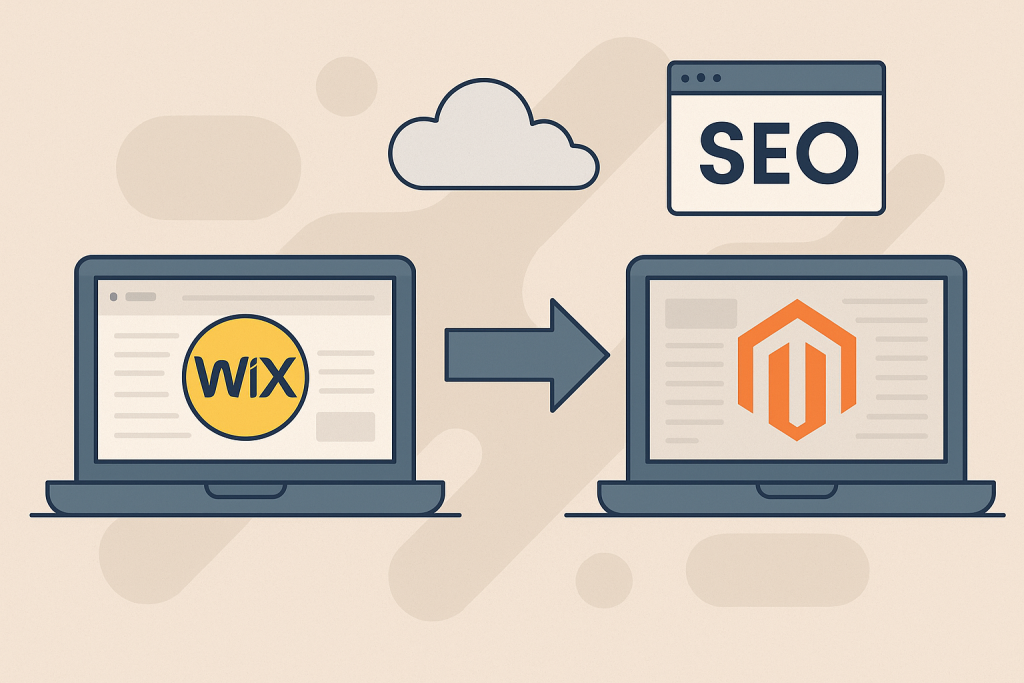
Migrating an eCommerce site is always a delicate process — especially when it involves moving from a closed platform like Wix to a more robust solution like Magento. To ensure a smooth transition, explore our Wix Migration Checklist. One wrong step, and your SEO rankings, traffic, or even orders can take a hit.
In this guide, we’ll show you how to safely perform a Wix to Magento transfer, keep your search engine visibility intact, and migrate without downtime.
Why Move from Wix to Magento?
Wix is a solid choice for startups and small stores. But as your business grows, you may need:
- Full control over your site and data
- Advanced product configurations (create product variants easily)
- Custom checkout flows and integrations
- Multi-store or multilingual support (migrate multiple languages)
- Improved SEO capabilities and scalability
Magento (especially Magento Open Source) offers unmatched flexibility and power for serious eCommerce growth. Consider reviewing the Magento Migration Checklist for a comprehensive plan.
️ Step-by-Step Wix to Magento Transfer (Without Losing SEO)
Step 1: Prepare Your Magento Store
Before transferring anything:
- Set up hosting with strong performance and security (explore target store preparation tips)
- Install Magento (latest version) and review pre-migration tips
- Choose a mobile-responsive theme
- Configure base settings: currency, taxes, shipping, etc.
Create a staging environment where you can test the migration safely before going live.
Step 2: Back Up Your Wix Content and SEO Metadata
Since Wix is a closed system, full exports are limited. However, you can manually or using third-party tools extract:
- Product data (CSV or manually)
- Page content and meta tags
- Image URLs
- Redirects (if any)
You’ll need to manually recreate key SEO elements in Magento later, so be sure to document:
- Page titles & meta descriptions
- Heading structure (H1, H2, etc.)
- URL slugs
- Alt text on images
Step 3: Use an Automated Migration Tool
A tool like Cart2Cart simplifies the transfer process. It helps migrate:
- Products, categories, images
- Customers and order history
- SEO URLs (if structured properly)
Steps:
- Connect your Wix and Magento stores (automatic connection bridge setup)
- Choose what data to transfer
- Run a demo migration
- Launch the full transfer
This greatly reduces manual work and risk of data loss.
Step 4: Recreate Page Structure and SEO Settings
Now in Magento:
- Create category and product pages with matching URLs
- Paste in previously saved meta titles/descriptions
- Use Magento’s built-in SEO tools or extensions (like Mageworx SEO Suite)
Focus on preserving the same URL structure when possible.
Step 5: Set Up 301 Redirects from Old Wix URLs
To migrate without downtime or SEO loss, set up 301 redirects from every old Wix URL to its new Magento version. Our 301 SEO URL migration options can further simplify this process.
Tools to help:
- Magento’s built-in redirect manager
- Google Sheets + bulk import extensions
- Server-side redirects (.htaccess for Apache)
✅ Don’t forget to update your sitemap and submit it to Google Search Console.
Step 6: Test Everything Before Launch
Go through a pre-launch checklist:
- Test all redirects
- Check for broken links
- Validate sitemap and robots.txt
- Monitor site speed (post-migration tips)
- Test mobile responsiveness
- Place test orders
Step 7: Go Live and Monitor SEO Closely
Once everything checks out:
- Point your domain to the Magento server
- Announce the migration to customers
- Closely monitor Google Search Console and Analytics
- Watch for drops in traffic or crawl errors
Use tools like Ahrefs or Screaming Frog to audit the site post-launch.
✅ Final Thoughts
A proper Wix to Magento transfer requires more than just moving data — it requires a plan to protect your SEO, keep customers engaged, and migrate without downtime.
Done right, the migration will elevate your brand, boost performance, and set the stage for serious long-term growth.
Monthly Update – March 2026
As of March 2026, maintaining SEO after a platform migration, especially from Wix to Magento, requires more than just correctly implemented 301 redirects. The emphasis has heavily shifted towards continuous performance optimization and user experience. Google's Core Web Vitals remain paramount; therefore, ensure your new Magento store excels in Largest Contentful Paint (LCP), Cumulative Layout Shift (CLS), and First Input Delay (FID). Post-migration, closely monitor these metrics through Google Search Console. Furthermore, with the increasing sophistication of AI in search algorithms, content relevance, E-E-A-T (Experience, Expertise, Authoritativeness, Trustworthiness), and semantic search optimization are crucial. Don't just transfer content; refine it for deeper keyword relevance and user intent. Regularly audit your site for crawlability issues, broken links, and duplicate content. Proactive monitoring and iterative improvements are key to not only preserving but enhancing your search rankings in the dynamic 2026 digital landscape.
For more details, explore our FAQ section or schedule a call with a migration expert.