Squarespace is a website builder you can use to create a website from scratch. Alternatively, you can use the drag-and-drop website builder to create a website with little to no coding experience.
You can build a website for any purpose, including running an online business, showcasing your portfolio, running a blog, and more.
Follow our Squarespace beginner tutorial to get going.
Squarespace tutorial 2026
If you don't have a Squarespace account, go to Login at the top right-hand of the first page and click on it to create your account. Once you have entered all your information, click on Continue.
Choose a template
The next page will ask you to choose a template. At the top of the page, you will see all the categories you can choose from. If you are planning to have a photography website, click on Photography and you will be presented with a number of templates ideal for your needs.
If you don't see one that you want, choose any template because they can all be customized to anything you want.

When you have chosen one, click on it and then click on View Demo Site to see how the website will look. If you are happy with it, the next step is to name your website.
Note: look through the Cart2Cart Blog for useful tips & tricks on how to migrate data across various shopping cart solutions.
Get familiar with the structure of your website
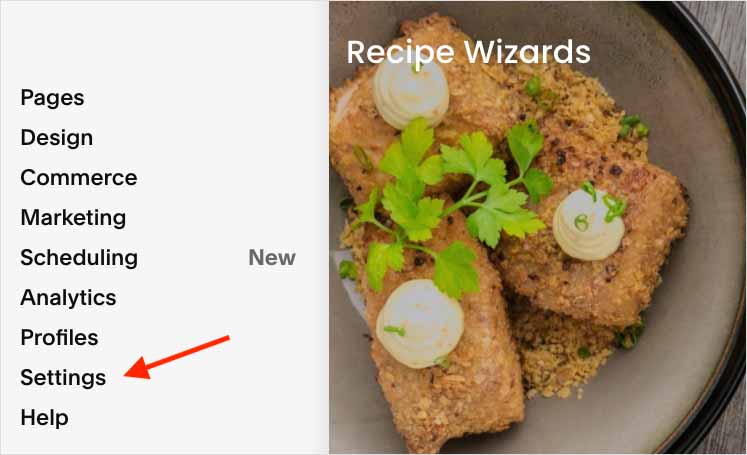
On the left-hand side of the screen, you will see your website management tools:
Pages: Use pages for your website content.
Design: Here you adjust design aspects.
Commerce: This is for the management of commerce functions, like products, shipping, and billing.
Analytics: Read your various site reports here.
Marketing: Do your marketing initiative like pop-ups and email campaigns here.
Plus much more.
Edit your template
Start by editing Pages. Do this by hovering over the name to find the small gear icon and click it. This action will bring you to Page Settings. Here you can edit the home page title, navigation title, and URL slug. Here is also where you enable the page.
On the left click on Social Image and choose an image to download for social media platforms.
Next, click on Edit to edit the site title and logo, colors and transparency, header position, fonts, and more.
Click on the small icon at the top right of the page to see how everything looks in mobile view.
Note: There is no auto-save, so click on Save every time you make a change.
Editing page content
Enter the Edit mode from any page when you’re ready to change its text or update images. Most of the content areas can be edited, including blocks of text, buttons, and photos.
For example, to edit sentences and headings, click on the text to open the text editor. Here, you can add lists and links, bold text, and more. Simply type in your new text and add any formatting.
Editing the layout
To make changes to section backgrounds and layouts, roll over any section for a small menu with editing options to appear. You can use the pencil to change the size, background, and color of any section.
Adding sections to a page
You will notice a blue border containing Add Section at opposite ends. Click on one of them to see all the Squarespace sections you can add, including:
- Appointments
- Donations
- Products
- Calendars
- Charts
- Logo Wall
Each section has multiple layouts to choose from.
Adding a page
Go to the Main Navigation header. Click on the section where you want the extra page and add a page by clicking on the plus (+) button. There are many different pages you can add, including:
-
- RSVP
- Services
- Team
- Gallery
- Portfolio
- Blog
When you're done with customizing your Pages, you can move on to making design changes.
Make design changes
Click on Design on the left hand of the page. The following menu will appear:
-
-
- Site styles
- Browser icons
- Lock screens
- Checkout pages
- 404 pages
- Social sharing logos
- Custom CSS
-
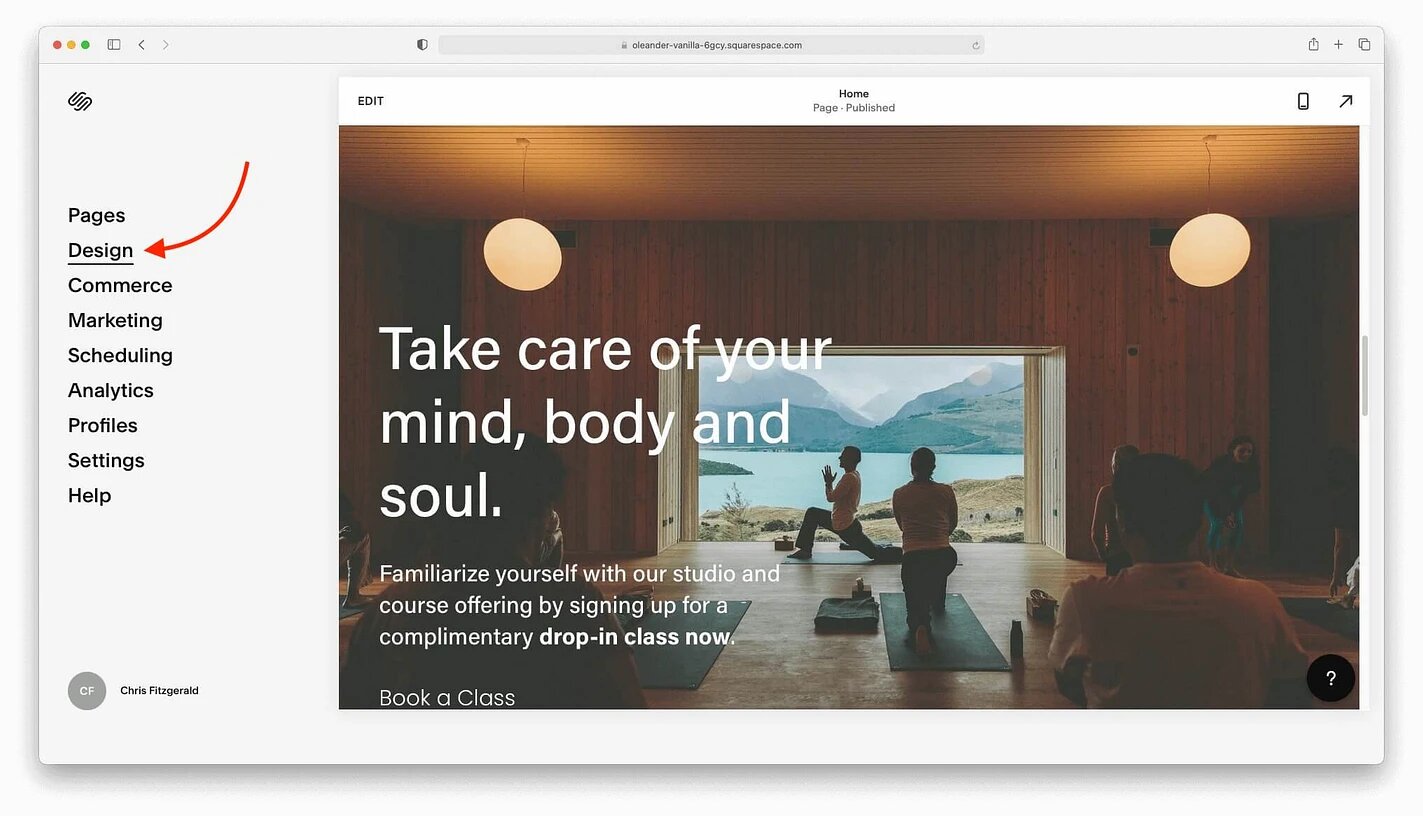
Click on all these options to see what your options for editing are, with Site Styles being the most important.
Adding an eCommerce store
If you plan to sell products from your website, you should add commerce features to your website.
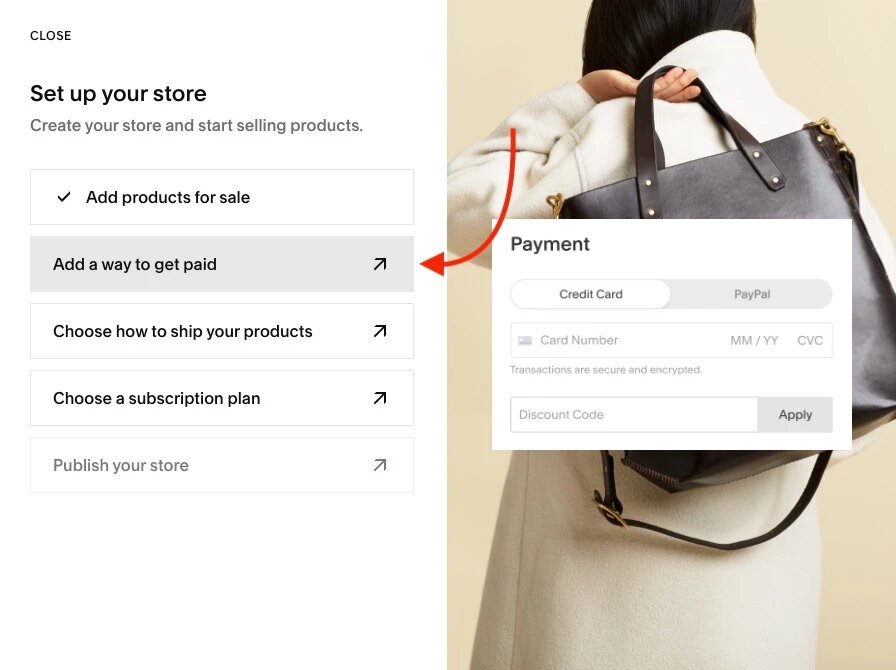
To add a store, click on the Commerce tab. The easiest option from here is to set up your store with Squarespace’s four-step eCommerce wizard by following the prompts, which will let you choose a store layout and add products.
Adding payment methods to your Squarespace store
Locate the Add a Way to Get Paid option in the store set-up menu. Add your preferred payment gateway by clicking on your preferred gateway. Choose between Stripe, PayPal, and Square.
Setting shipping requirements
Click the Choose How to Ship Your Products button and complete all the information. Choose your shipping rates and other shipping options.
Mobile preview
Don't forget to click the phone icon to see how your website will look on mobile.
Is Squarespace easy to learn?
Squarespace is easy to use, even for beginners with no coding experience. The platform is user-friendly, with a drag-and-drop interface, which makes it easy to use.
While it is easy to use, it may take a while to figure out how to use all the many features and design options.
How much does it cost to have Squarespace built?
To actually build a Squarespace website can cost you nothing if you are prepared to put in the time to figure it out yourself. To use your website, you will have to decide on one of the four plans that Squarespace offers.
Personal: $23 per month, with savings available for annual plans
Business: $33 per month, with savings available for annual plans
Basic Commerce: $36 per month, with savings available for annual plans
Advanced Commerce $65 per month, with savings available for annual plans
Is Squarespace better than making your own website?
There is no right or wrong answer to this question. It depends on factors like your own abilities, motivation to learn, and the size and complexity of the site you need.
There are pros and cons to both choices. If you hire a developer to build your website, it will look more professional, but it will be expensive. It can cost you anywhere between several hundred to many thousands of dollars to hire a web developer, depending on the size and complexity of your website.
On the other hand, you can build it for free yourself, but it might be time-consuming and you might miss out on ways to customize your site that only a developer will know about.
If you want a simple website that doesn’t require any customization, and you are willing to spend some time on it, a Squarespace tutorial would be enough to ensure you end up with a great-looking site you built yourself.
If you already have an eCommerce store and you want to migrate to Squarespace, let Cart2Cart smooth the process for you. No matter what store you own and what shopping cart you want to migrate to, Cart2Cart can handle it for you with no fuss and no loss of data.
Monthly Update – March 2026
For Squarespace users in March 2026, the focus should shift towards streamlining inventory management and optimizing for spring season sales. With new collections potentially launching, ensure your product listings are accurate, high-quality images are used, and detailed descriptions with relevant keywords are in place for SEO. Consider leveraging Squarespace's built-in email marketing tools to announce new arrivals or special promotions. This month is also an excellent time to review your website's performance metrics. Pay close attention to mobile responsiveness and page load speeds, as these are critical for retaining visitors and improving conversion rates. Furthermore, explore the potential of integrating advanced analytics to gain deeper insights into customer behavior. As the digital landscape evolves, staying agile with your store’s design and functionality will be key. Regularly back up your site data and review your security settings to ensure a safe shopping experience for your customers.
For more details, explore our FAQ section or schedule a call with a migration expert.