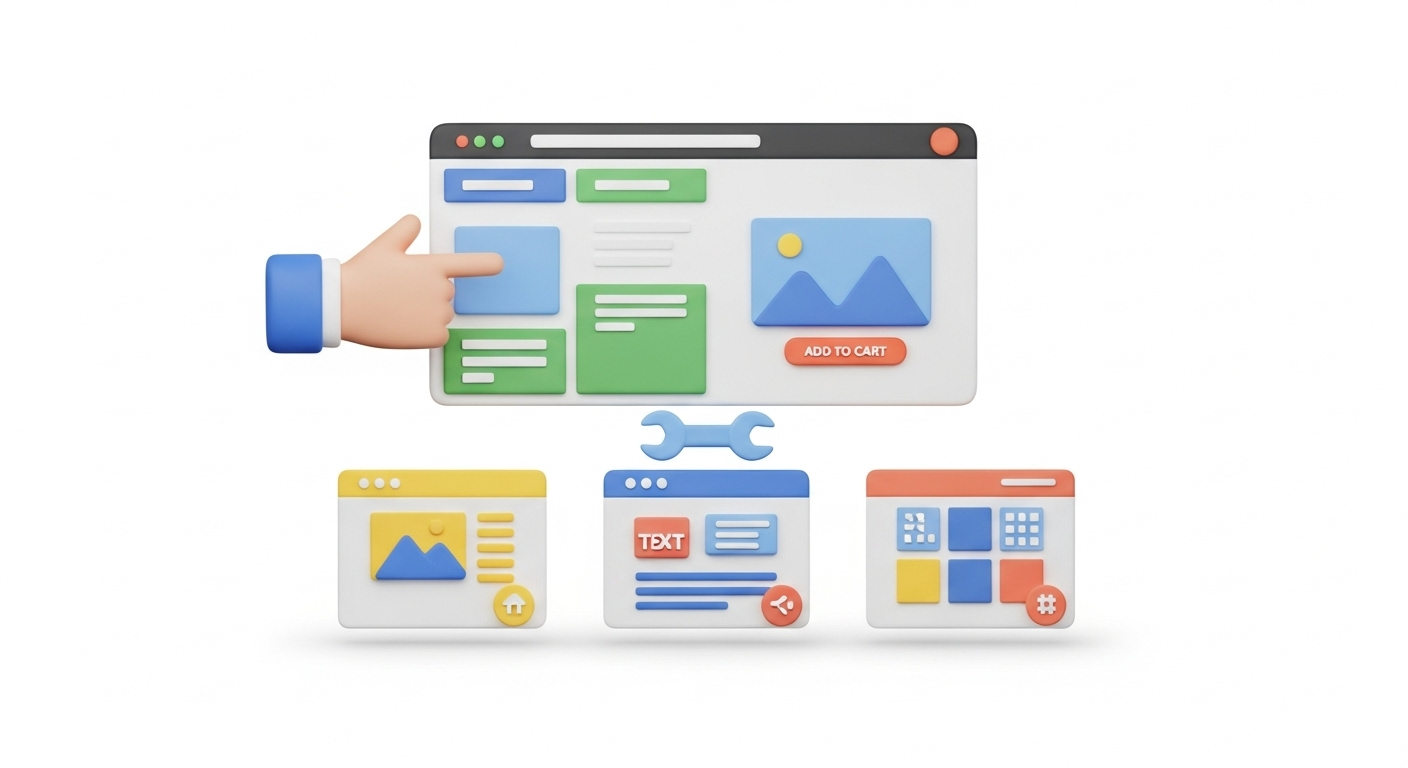
‘Multiple’ is the word that characterizes eCommmerce nowadays. Multiple shopping carts offer multiple features to fulfill multiple business needs. The platform should support multiple languages and currencies, tax options, payment methods and shipping methods to open multiple opportunities of international trade. Magento was one of the first shopping carts which introduced one more ‘multiple’ feature - multiple storefronts management. So that you were not confused with this functionality, we offer a short review of Magento multi-store and its setup procedure.
Magento multi-store functionality gives an opportunity to manage any number of stores within a single Magento installation. Multi-store can be created on one or several different domains. Here you will get an instruction on how to create several stores from a single Magento admin panel.
Before you proceed with the article, make sure you are familiar with the following terms:
Category - group in which similar or related store items are organized.
Website - one or multiple stores and store views that share customer data and shopping cart information.
Store - sub division of website used to manage products and categories. A store is a collection of store views.
Store view - different looks and feels of the same store, multiple presentations of the data in the front. The catalog structure of the store remains the same for all store views.
Now, let’s move to the process of Magento multi-store installation. First of all, install Magento. This multi-store functionality is a core feature in modern Magento versions (Adobe Commerce). Login to your admin panel. Now, you should create new stores in Magento admin panel. The following steps will lead you through the whole process. Take it slow.
Create a Category
1. Go to Catalog - Manage Categories.
2. Add new Root Category (You can also add websites to Default categories.) Set the Name for the category, for example Clothes.com
3. In General Information confirm Is Active status.
4. Proceed to Display Settings tab and confirm Is Anchor.
5. Save Category that you have just created.
Create a Website
1. Now, go to System - Manage Stores - Create Website.
2. Add Name and Code values according to your specific store. As an example, we will choose the Name Clothes.com
3. Save Web site.
Create a Store
1. Create a Store
2. Select the Website. As an example we choose the previously created Clothes.com
3. Choose the Name, for example Main Store.
4. Choose the Root category from the dropdown.
5. Save Store.
Create Store View
1. Click the button Create Store View.
2. Select Main store from the dropdown, for the site Clothes.com
3. Choose the Name, for example English, and for the Code enter clothes_en
4. Set the Status Enabled.
5. Save Store View.
Following the same procedure you can create as many stores and store views as you need.
Then proceed to the System - Configuration - Current Configuration Scope. From the dropdown choose the website you have just created, for example Clothes.com. Go to the Web option in the menu General. Uncheck the Use default next to the base URL and enter your store URL. Don’t forget to Save config.
Now, that you established stores you should set it up on server properly. If you want to set up each store on different domain you should use the parked domain method. You can also locate your stores on subdomains or subdirectories. This should be chosen depending on your hosting environment.
The only issue that can evolve here is when the merchant already has stores on other shopping carts and after establishing Magento multi-store needs to transfer all the data from several shops to one Magento store. There is a risk of data confusion or duplication. And it will take you much time to get all the data be on the right place. To avoid these difficulties, you can follow the next scenario.
Migrate to Multi-Store
1. Create Cart2Cart account and login.
2. Provide the details of shopping cart you want to migrate from.
3. Provide the details of your Magento shopping cart.
4. Select the entities for migration.
5. Set multi-store configuration. Map your current store to the target store on Magento multi-store and the data will be moved accurately and exactly to the desirable location.
6. Proceed with the next migration steps and then follow the same procedure for other stores to transfer all the data to Magento.
For more detailed instruction on Magento multi-store migration, check Multi Store Migration Scenarios. The whole procedure of Magento multi-store setup and migration may seem complicated. However, following our comprehensive eCommerce Migration Checklist and these instructions step-by-step, you will be able to become a Magento multi-store owner in a few hours. And its totally worth the efforts you’ll spend. You will be able to run multiple stores from one backend and enjoy multiple benefits of Magento shopping cart.
Monthly Update – March 2026
As we move further into 2026, Magento multi-store owners are increasingly prioritizing enhanced international SEO and localized content delivery to capture global markets more effectively. A key trend involves leveraging advanced PWA (Progressive Web App) frontends with Magento's robust backend for superior speed and mobile experience across different store views and languages. This architecture not only boosts search engine rankings through faster load times but also significantly improves user engagement for diverse customer segments. Furthermore, store owners are exploring sophisticated content delivery networks (CDNs) and optimized image serving strategies to ensure consistent performance regardless of geographical location. It's crucial for multi-store setups to maintain distinct yet interconnected SEO strategies for each locale, including proper Hreflang tags, localized meta descriptions, and regional keyword targeting. Implementing a centralized translation management system can streamline this process, ensuring that product descriptions, categories, and promotional content are culturally relevant and accurate across all storefronts. This strategic combination of performance optimization and tailored localization is essential for maximizing global reach and conversion rates.
For more details, explore our FAQ section or schedule a call with a migration expert.